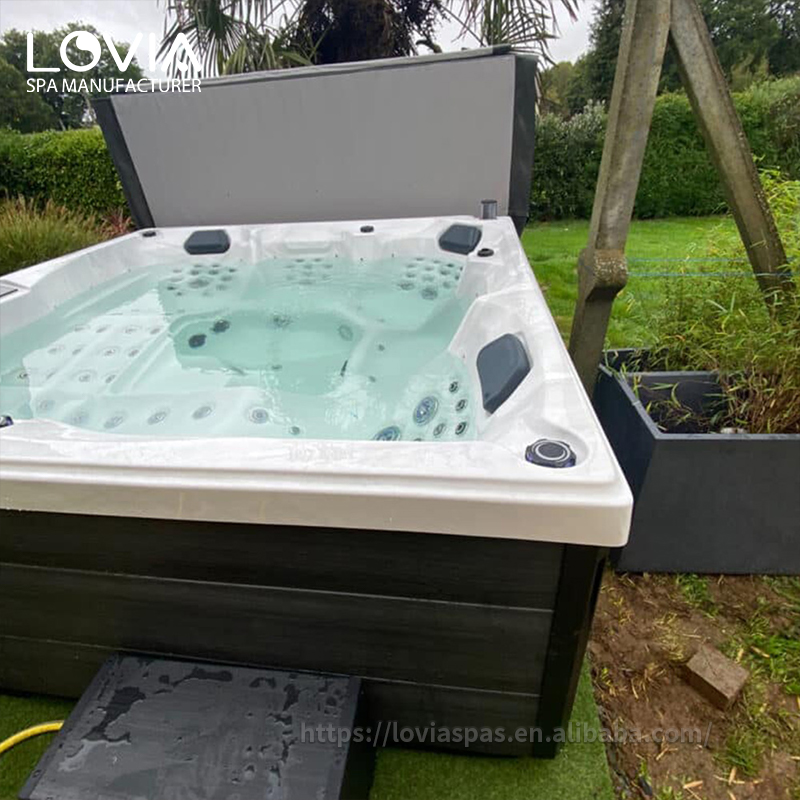
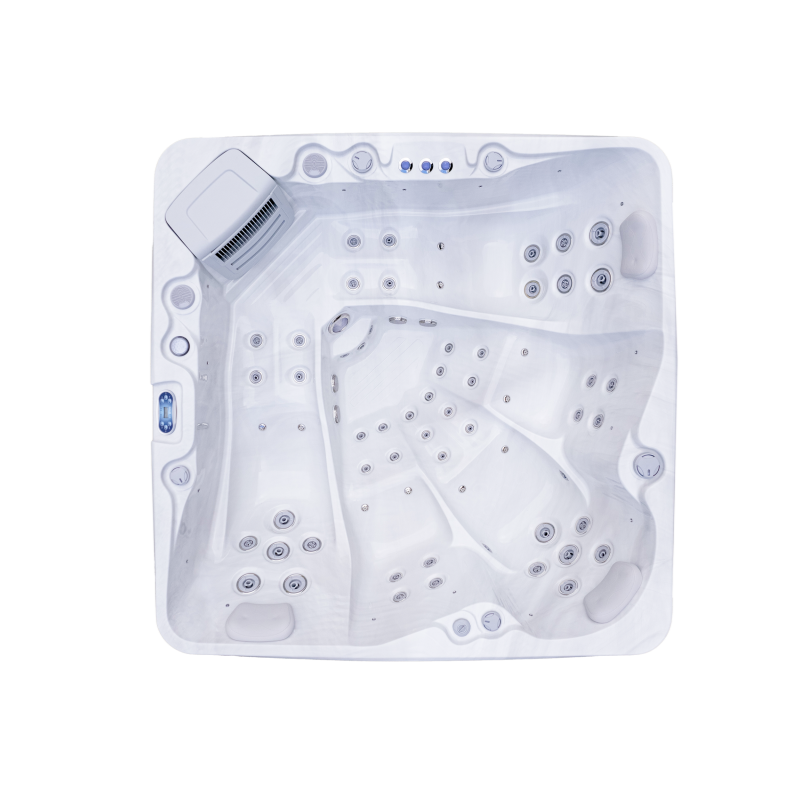
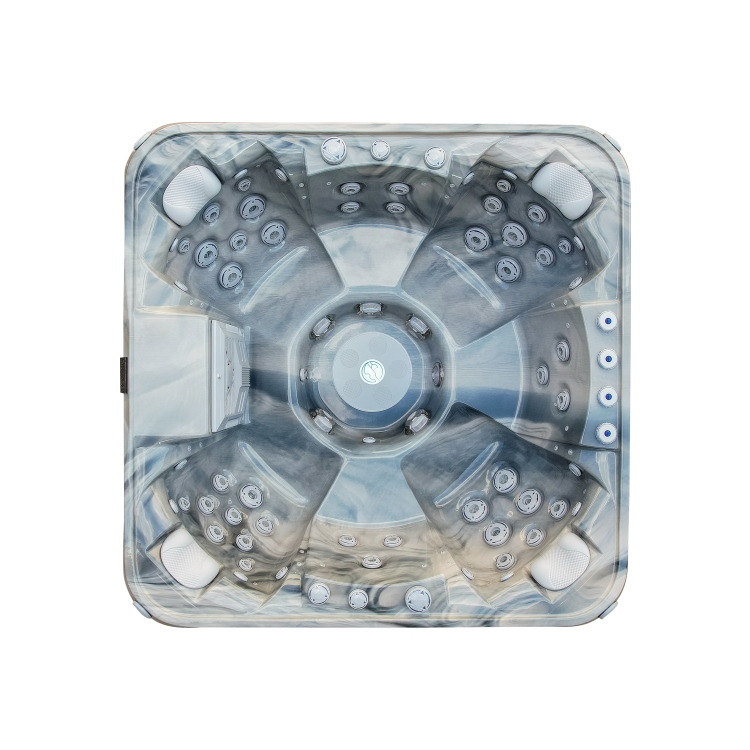
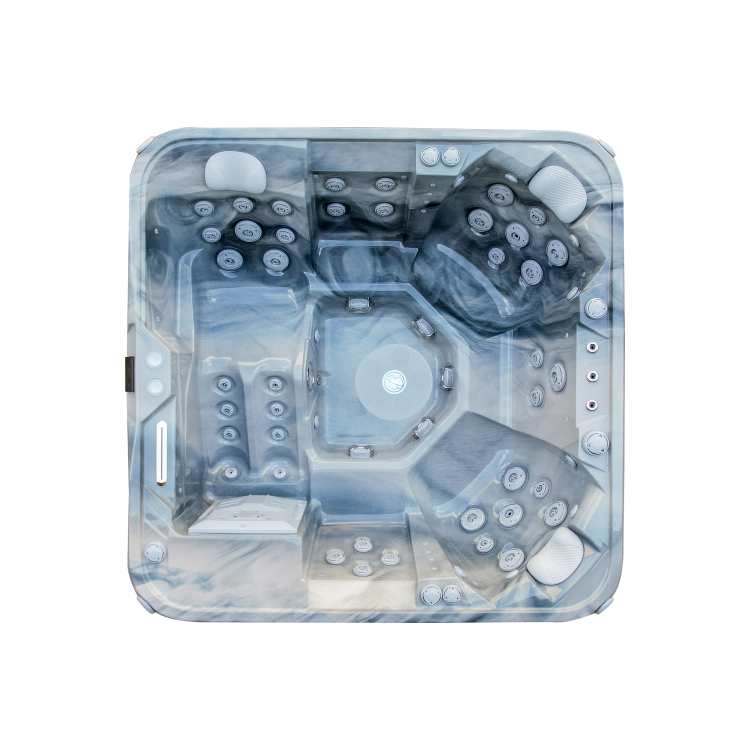
Whether it’s a cold winter night or a warm summer evening, an outdoor hot tub provides a great place for family and friends to relax and enjoy. However, how to correctly install an outdoor hot tub and ensure its safety and effectiveness is a problem faced by many new users.
To this end, we interviewed a number of installation experts to explain in detail the installation steps of an outdoor hot tub to help you successfully complete the project.
Preparations before installation
1. Choose the right location
To install an outdoor hot bathtub, you first need to choose a suitable location. Expert advice:
Flat floor: Make sure the floor in the installation area is flat and solid and can support the weight of the bathtub.
Good Drainage: Choose a location with good drainage to avoid standing water.
Good ventilation: Make sure the surrounding environment is well ventilated to avoid the accumulation of water vapor.
Convenient access to water and electricity: Make sure there is a water source and power supply near the installation location to facilitate subsequent connections.
2. Measure the space
After selecting the location, you need to accurately measure the size of the installation area to ensure there is enough space to place the bathtub and reserve space for maintenance and use.
3. Prepare tools and materials
Installing an outdoor hot tub requires some basic tools and materials, such as a level, tape measure, screwdriver, wrench, silicone sealant, pipes and connectors.

Detailed explanation of installation steps
1. Prepare the basics
(1) Foundation construction
If the ground is not level or solid enough, you may need to build a foundation first. You can use a concrete slab or wooden platform as the foundation, making sure the foundation can support the weight of the tub. It is generally recommended that the foundation thickness be at least 10 cm and ensure that the foundation is level.
(2) Waterproofing
Lay a waterproof layer on the foundation to prevent groundwater penetration from affecting the service life of the bathtub. This can be done with a tarp or waterproof paint.
2. Install the bathtub body
(1) Transporting the bathtub
When transporting the bathtub to the intended location, be careful to avoid damaging the surface of the bathtub. It is recommended that multiple people work together and use conveyor belts or rollers to assist in transportation.
(2) Fixed bathtub
Place the bathtub on the foundation and use a level to level the bathtub to ensure it is placed smoothly. Use bolts to fix the bathtub to the foundation according to the fixing holes at the bottom of the bathtub.
3. Connect water and electricity
(1) Power connection
Plug the tub’s power cord into the home grid. For safety reasons, it is recommended to use a professional electrician to make connections and ensure that the power cord is well insulated and grounded. At the same time, install a leakage protection switch to ensure safe use.
(2) Water source connection
Connect the bathtub’s water inlet and outlet to your home’s water pipes. Flexible pipes and joints can be used to ensure a secure, watertight connection. After the connection is completed, open the water valve and check whether there is any leakage in the pipe connection. If there is water leakage, seal it with silicone sealant.
4. Install drainage system
(1) Drainage pipe installation
Connect the bathtub drain to your home’s drainage system to ensure smooth drainage. PVC pipes can be used. When connecting, make sure the joints are tight and seal them with sealant.
(2) Drainage test
After connecting the drainage system, conduct a drainage test to ensure smooth drainage and no leakage.
5. Test run
After all connection work is completed, perform the first water filling and heating test:
Water filling: Open the water inlet valve, fill the bathtub, and observe whether the water level is stable and whether there is any water leakage.
Heating: Turn on the heating system, set the appropriate water temperature, and check whether the heating is normal and whether there are any abnormal sounds or fault prompts.
6. Security Check
(1) Circuit inspection
Check whether the power connection is firm and whether the leakage protection switch is working properly. Make sure all wires and connectors are within safe limits and there are no exposed wires.
(2) Water pipe inspection
Check all water pipes and connections again to make sure there are no leaks. Check whether the water pump and filtration system are working properly to ensure smooth water circulation.
(3) Safety protection
Install safety protection measures, such as anti-slip mats, guardrails, etc., to ensure safety during use. Especially families with children should pay attention to installing protective fences to prevent accidental falls.
Conclusion
Although installing an outdoor hot bathtub may seem complicated, it can be done by yourself as long as you follow the steps carefully. Through reasonable installation and regular maintenance, you can not only extend the service life of the bathtub, but also ensure the safety and comfort of use. I hope the detailed interpretation and expert advice in this article can help you successfully install an outdoor hot tub, allowing you and your family to enjoy this unique home leisure experience.


